Designers, animators, and 3D enthusiasts, have you considered running the world’s top open-source 3D creation suite Blender on the deepin operating system?
Now is the perfect time to try it out—the Blender Foundation officially released Blender 4.5 LTS (Long-Term Support) on July 15, 2025! This article will use deepin V25 and Blender 4.5.0 as examples, highlighting new features and sharing tips for a deeply optimized configuration and creative workflow on deepin.
Special thanks to the Blender Chinese Community for their support, and to user @BlenderCN-Kang for contributing this content.
About Blender & the Blender Chinese Community
Blender is a free and open-source 3D creation suite that supports the entire 3D pipeline—including modeling, rigging, animation, simulation, rendering, compositing, motion tracking, and video editing. It delivers a consistent experience across Linux, macOS, and Windows, powered by OpenGL.
The BlenderCN Community, established in 2004, serves as an interactive platform for Chinese users to ask questions, share solutions, and collaborate on projects. The community actively contributes to the localization of Blender software and manuals, maintains related websites, and participates in Blender development. New members are always welcome!
How to Use Blender on deepin
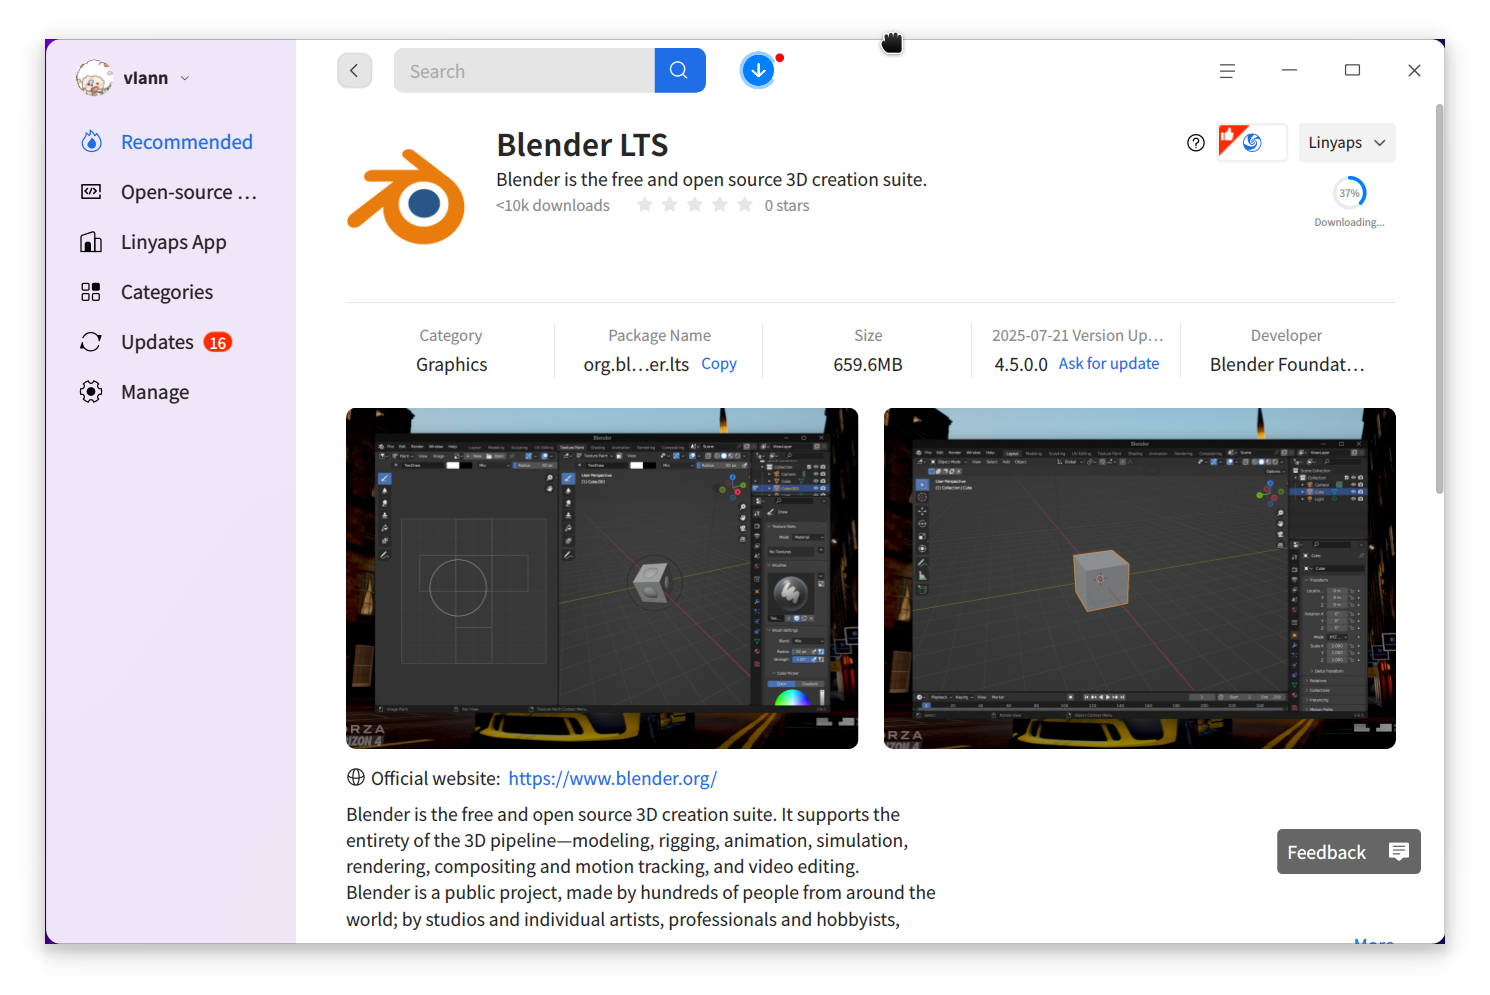
Step 1: Download and Install the Blender Package.
deepin users can either go to the App Store to download and launch Blender with one click, or visit the official Blender website to download the portable archive version for Linux, then extract and install it manually.
- Blender Official Download: https://www.blender.org/download/
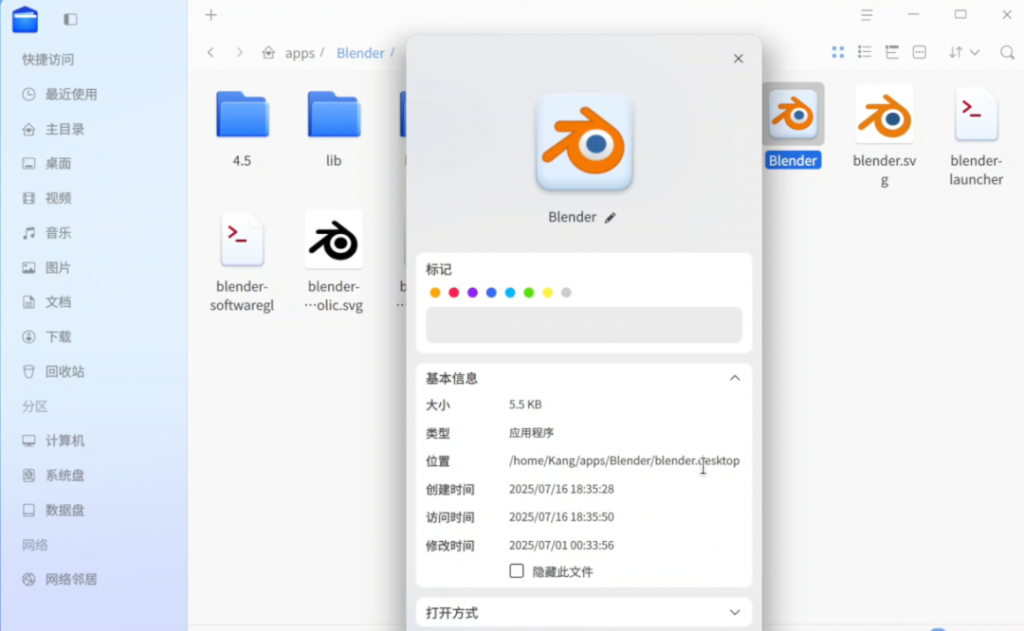
Step 2: Install and Launch Blender.
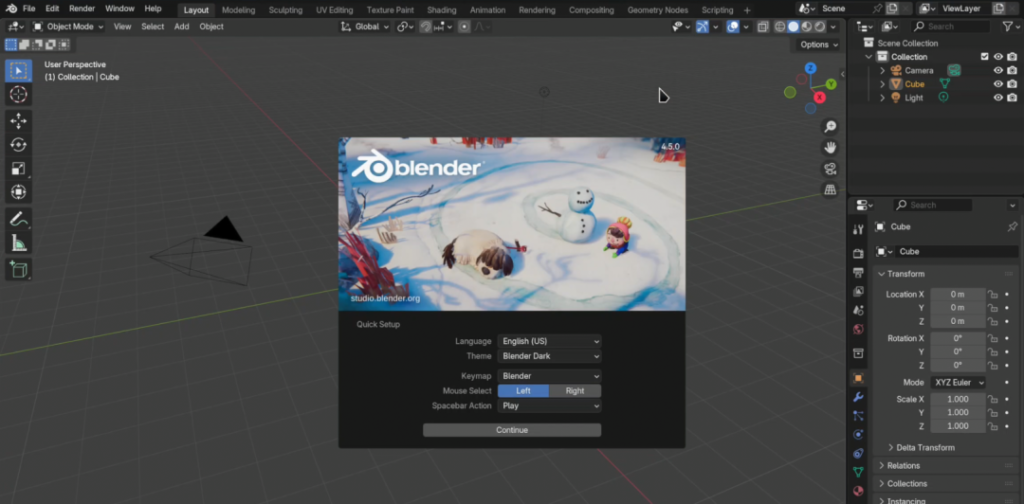
After downloading, extract the archive you got from Blender’s site. Go into the extracted folder and look for the blender.desktop file (it should have the Blender icon). Double-click this file to launch Blender. Blender should start up, and you’ll see the Blender splash screen and interface.
To make it easier to launch Blender next time, you can register it in deepin’s application launcher:
- Open Blender, then go to "Edit > Preferences.
- In the Interface tab, switch the language to the language you prefer.
- Switch to the "System" tab, and check the option “Use as System Defaults” .
- Click the “Register” button. When prompted, enter your system password to confirm.
- Now Blender is registered in your system. You can find it through deepin’s launcher: open the app launcher and search for “Blender” – you should see the Blender icon appear for quick access in the future.
Additional Configuration Tips for a Better Experience
If you want an even better Blender experience on deepin 25, consider the following optional configurations and tweaks:
Cross-Device Configuration Sync
Do you use Blender on multiple devices? You can easily share your Blender add-ons and interface layouts across different machines. Blender supports a “portable” configuration: simply create a folder named portable (all lowercase) in Blender’s main directory (the folder where Blender’s executable resides). Once this portable folder exists, Blender will store all user settings, add-ons, and interface layouts in that folder instead of the default path.
This means you can copy the entire Blender folder (with the portable subfolder) to another computer, and all your custom settings, plugins, and UI arrangements will come along with it. It’s a quick way to replicate your personal Blender work environment on any deepin (or other Linux) system without manually re-configuring everything.
NVIDIA GPU Hardware Acceleration
If you have an NVIDIA graphics card, you’ll likely want to leverage it for hardware-accelerated rendering in Blender (using CUDA or OptiX). By default, on a fresh deepin (or other Linux distro) installation, Blender might not list your GPU as an available device for rendering – the Cycles render device options could appear empty or show CPU only. To fix this, you need to install the NVIDIA drivers on your system:
- Install the NVIDIA driver on deepin:
Open the terminal and run the following command to install NVIDIA’s driver package on deepin:
sudo apt install nvidia-driver-full
This will download and install the full proprietary NVIDIA driver suite. Once the installation is complete, restart Blender (you may even need to reboot your system for the driver to fully take effect).
- Enable CUDA/OptiX in Blender:
After installing the driver, launch Blender and go to Edit > Preferences > System > Cycles Render Device. Now you should see your NVIDIA GPU listed (under CUDA or OptiX devices). Check the box next to your GPU to enable it for rendering. You can also check the CPU box at the same time to enable hybrid GPU+CPU rendering, which can maximize rendering performance by utilizing all available hardware.
Once enabled, Blender’s Cycles engine will be able to use your NVIDIA GPU to significantly accelerate rendering tasks.
Note for other GPUs:
- If you use an AMD graphics card, Blender’s preferences will offer a HIPoption (the hardware acceleration framework for AMD). Make sure you have the appropriate AMD driver installed and the ROCm environment set up for it to work.
- On Apple Silicon (M1/M2, etc.)systems, Blender will show a Metal option for GPU acceleration. (On deepin this isn’t applicable, since deepin doesn’t run on macOS/Apple hardware, but it’s good to know if you use Blender on a Mac.)
That’s it! The above covers the entire process of installing, using, and configuring Blender 4.5.0 on deepin 25. We used deepin as the example here, but similar steps and tips apply if you’re using another Linux distribution – you can adapt the process as needed. We hope this tutorial helps you get Blender up and running smoothly on your deepin system, and that the optimization tips enhance your 3D creation experience.
Again, a big thanks to the Blender Chinese Community and @Blender_Kang for their contribution and support in making this guide possible! If you encounter any issues following this guide, or if you have any suggestions for our tutorial, feel free to reach out and discuss on the deepin community forum. Happy Blending on deepin!
Bonus:
Dear deepin community users, We warmly invite you to join the deepin 25 Product Survey—your feedback helps shape future improvements.
Click "Here" to participate (takes just 1–3 minutes).